How to upgrade to LMDE 4
|
6 years ago 2 |

A. Introduction
This tutorial explains how to upgrade to LMDE 4.
B. Requirements
To upgrade to LMDE 4 you need experience with APT and the command line.
Upgrading to a newer package base is not trivial and it should not be performed by novice users.
You need to know how to type commands and read their output.
You also need to be experienced with APT. During the upgrade you'll need to understand the output of APT commands. You'll need to understand if a package needs to be removed, if it blocks the upgrade, if it conflicts with another package etc...
C. Preparation
C1. Apply all package updates
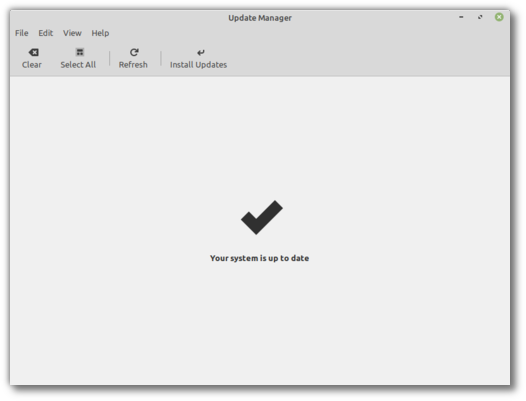
To apply all updates:
- Launch the Update Manager with "Menu -> Administration -> Update Manager".
- Press the "Refresh" button to update the cache.
- Press the "Select All" button to select all updates.
- Press the "Install Updates" button.
- Follow the instructions from the Update Manager and install all updates until the manager tells you the system is up to date.
- Reboot the computer.
C2. Create a system snapshot
If anything breaks or if anything goes wrong during the upgrade, you can go back in time and revert all changes by restoring your latest system snapshot. Whatever happens, you're covered. You'll be able to restore your operating to this current state, either from within LMDE, or by launching Timeshift from a live Mint session (live DVD or live USB).
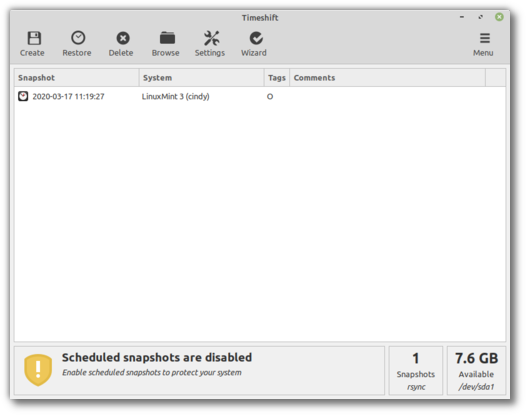
To create a system snapshot:
- Launch Timeshift with "Menu -> Administration -> Timeshift".
- Follow the wizard to select a destination for your snapshots.
- In the toolbar, click on the "Create" button to make a manual snapshot of your operating system.
C3. Downgrade Unofficial Debian Multimedia packages
The Unofficial Debian Multimedia repository (deb-multimedia.org) is no longer used in LMDE 4. To prevent any packages conflicts during the upgrade you need to remove it and downgrade its packages back to Debian versions.
C3.1. Remove the deb-multimedia.org repository
To remove the deb-multimedia.org repository:
- Open /etc/apt/sources.list.d/official-packages-repositories.list as root (you can do so with the following command:
sudo xed /etc/apt/sources.list.d/official-package-repositories.list) - Remove the following line at the bottom of the file: "deb https://www.deb-multimedia.org stretch main non-free".
- Save the file.
- Update the APT cache (
apt update).
C3.2. Downgrade the multimedia packages
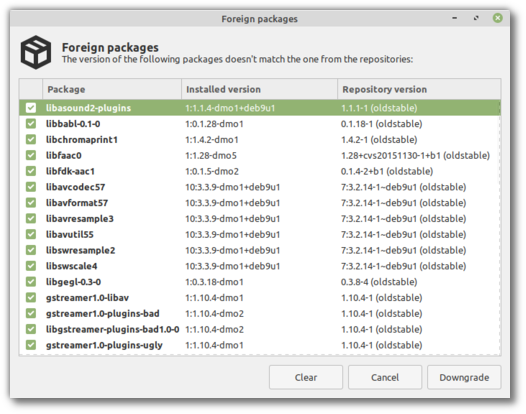
To downgrade the multimedia packages back to Debian versions:
- Open the Software Sources tool (mintsources).
- Go to the "Maintenance" tab.
- Click on "Downgrade Foreign Packages".
- Click on "Select All".
- Click "Downgrade".
- In the embedded terminal which shows up, review the information and confirm to continue.
C3.3. Remove the remaining multimedia packages
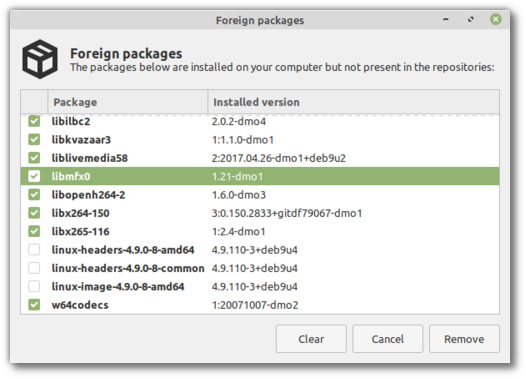
To remove the remaining multimedia packages:
- Open the Software Sources tool (mintsources).
- Go to the "Maintenance" tab.
- Click on "Remove Foreign Packages".
- Select all the packages which have "-dmo" in their "installed version".
- Click "Remove".
Note: This will remove mint-meta-codecs and that's OK for now.
D. Upgrade
D1. Install the upgrade tool
To install the upgrade tool, open a terminal and type:
apt install mintupgrade
D2. Check the upgrade
To simulate an upgrade, open a terminal and type:
mintupgrade check
Then follow the instructions on the screen.
This command temporarily points your system to the LMDE 4 repositories and calculates the impact of an upgrade.
Note that this command doesn't affect your system. After the simulation is finished, your original repositories are restored.
The output shows you if the upgrade is possible, and if it is, which packages would be upgraded, installed, removed and kept back.
It is extremely important that you pay close attention to the output of this command.
Keep using "mintupgrade check" and do not proceed to the next step, until you're happy with the output.
D3. Download the package upgrades
To download the packages necessary to upgrade to LMDE 4, type the following command:
mintupgrade download
Note that this command doesn't actually perform the upgrade itself, but just downloads the packages.
Note also that this command points your system to the LMDE 4 repositories (if you want to go back to LMDE 3 after using this command, you still can, with the command "mintupgrade restore-sources").
Use the "mintupgrade download" command until all the packages are successfully downloaded.
D4. Apply the upgrades
Note: This step is non-reversible. Once you perform it, the only way to go back is by restoring a system snapshot.
To apply the upgrades, type the following command:
nice mintupgrade upgrade
D5. Downgrade foreign packages
Some packages either no longer exist in LMDE 4, or have a lower version than in LMDE 3. To guarantee they function properly, they need to be downgraded.
- Launch the Software Sources tool from "Menu -> Administration -> Software Sources".
- Open the "Maintenance" tab and click on "Downgrade Foreign Packages".
- Select all foreign packages and click "Downgrade".
D6. Delete foreign packages
- Launch the Software Sources tool from "Menu -> Administration -> Software Sources".
- Open the "Maintenance" tab and click on "Remove Foreign Packages".
- Select all foreign packages and click "Remove".
E. Alternatives
If you cannot upgrade please perform a fresh installation.
Generic instructions on "fresh upgrades" are also available at https://community.linuxmint.com/tutorial/view/2
F. Notes
- It is recommended to use the default Linux Mint mirror before upgrading, to make sure you're using the latest version of mintupgrade. You can check your version of mintupgrade with "
apt policy mintupgrade". - The upgrade overwrites files in /etc/ with default configuration files. You can restore files indivually by the Timeshift snapshot you made prior to upgrading.
- To restore your lightDM settings, run the Login Window configuration tool (sudo lightdm-settings).
- A known issue affects Timeshift. When restoring a snapshot, if the "Disclaimer" window is empty, wait for about 2 minutes for the text to appear. Once the disclaimer text is there you can press Next and restore your snapshot. Pressing Next before the text appears results in a failure to restore. If you did, reboot and try to restore again.
- If for some reason you do not want to use timeshift, you can force the upgrader to not require it by typing the following command: "
sudo touch /etc/timeshift.json". - The upgrade is quite intensive and it can temporarily freeze. This can last for up to 10 minutes at times and it can also freeze Cinnamon. This is OK, be patient and give it time. If this becomes a problem, logout completely, drop to console (CTRL+ALT+F1) and run "mintupgrade upgrade" from there instead.
Comments
So far cleaner LMDE upgrade I've experienced, thanks! Even though mintupgrade check in my case crashed due to some unexpected error on the last stage (probably I just have too many packages from buster and buster-backports already), the subsequent download and upgrade went just fine.
What exactly is the issue around servlet libraries? How is it fixed? Thanks.
> "E. Alternatives
> If you cannot upgrade please perform a fresh installation."
When fresh installing on top of the previous installation, do not FORMAT the root partition, which also has usually the HOME partition.
Installing then allows the settings of the old setup to continue, as usual. If there are "absent" applications, these can be re-installed again. The settings will then generally be the ones that were on the original settings.
An easier GUI-almost way to add, remove & debug the Linux operating system is to use SYNAPTICS PACKAGE MANAGER (SPM).
This has an inbuilt bug detector & remover: "BROKEN".
SPM or Linux will sometimes tell us what the necessary CLI code is to repair our broken operating system.
Generally I find these CLI codes are similar to all Linux operating systems, so are in a code-fix text file, to be done frequently. Often the suggested "SUDO" is not mentioned.
: if LINUX ERRORS (no harm done)
: ===============================
sudo dpkg --configure -a
echo Y | sudo apt-get autoremove
echo Y | sudo apt-get -f install
echo Y | sudo apt-get install -f
sudo apt --fix-broken install
Re 2) - upstream bug in libservlet3.1-java breaks the upgrade, see https://bugs.debian.org/947844
Remove it via apt though... it's not really good to introduce dependency problems in your system.
hi clem,
went through the tutorial and it's working if done right:
1) It might be important for users, to move the 1st note about using the using the main-mirrors to the preparations section. Or add at least a note to read the tutorial completly first (as an user at irc got seemingly trapped by a mirror being out of sync).
2) Idk if it's been my lmde3 vm (which is a default installation with only minmal adjustments spice-vdagent, vim and geany) but I noticed that some *javaservlet* had to be removed here using sudo dpkg -r --force-depends
3) And in the course of the upgrade I did see some warnings about "folder xyz cant be removed, still containing files" - if this does matter
cheers orcus
nice