How to Install and Configure Git on Linux Mint 20
|
3 years ago -1 |
Here's the installation process by Karim Buzdar on installing Git on Linux Mint 20
Step 1: Update and upgrade the existing packages
We will start with updating and upgrading the packages that already exist on our system.
To update the packages, run this command with sudo:
sudo apt update
![]()
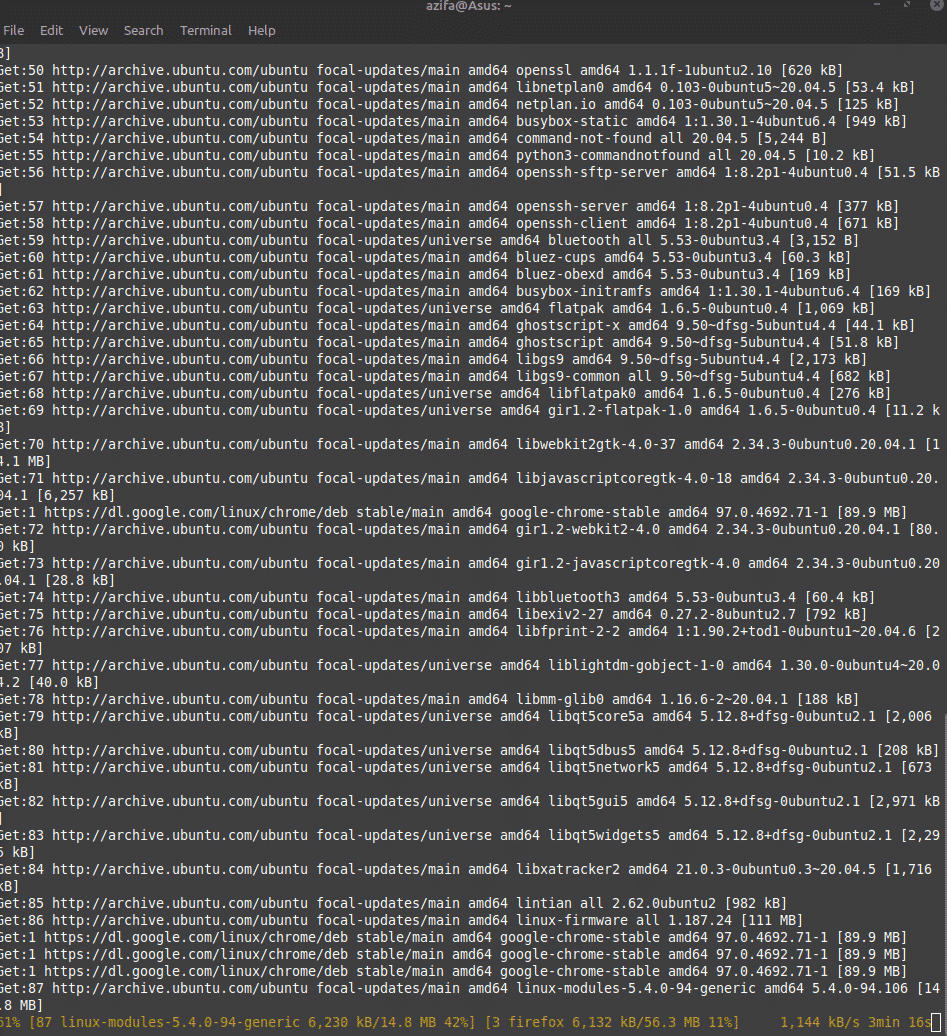
After this, all the packages will be updated. However, they still need to be upgraded. To do that, run the upgrade command with sudo as shown below:
sudo apt upgrade
![]()
This is how the terminal screen will appear after running the command:
Step 2: Install Git
Once all the packages are successfully upgraded, we will run a command to install Git.
This command will install Git:
sudo apt install git
![]()
After running the command, you will be informed that how much additional disk space will be used. It will use 38.4 MB of space. Type Y and hit enter to continue the installation process.
![]()
Step 3: Verify installation
After the installation is completed, you need to check if git is now installed on your system or not. Run the git version command to verify if git exists. This will also tell you the version number of the git you just installed on your system.
git --version
![]()
If you don’t see the above output, it means the installation didn’t happen properly. Try to reinstall it following the previous steps. Also, make sure your internet connection is fine before you try installing it again.
Configuration Guide
Now that we have verified that Git software exists on our system, let’s now configure it. We will do it using the terminal.
Step 1: Set Global Username
Following the command syntax mentioned below, set a username that will be needed while committing changes on the Git repository.
git config --global user.name "Your name"
![]()
Step 2: Set Global User Email
Next, set the user email that will also be required to commit changes on the Git repository. To do that, use this command syntax:
git config --global user.email “Your Email”
![]()
Step 3: Verify username and email
When you will run the command mentioned below, it will show you the username and email that you just set in the previous steps. Check carefully.
git config --list
![]()
![]()
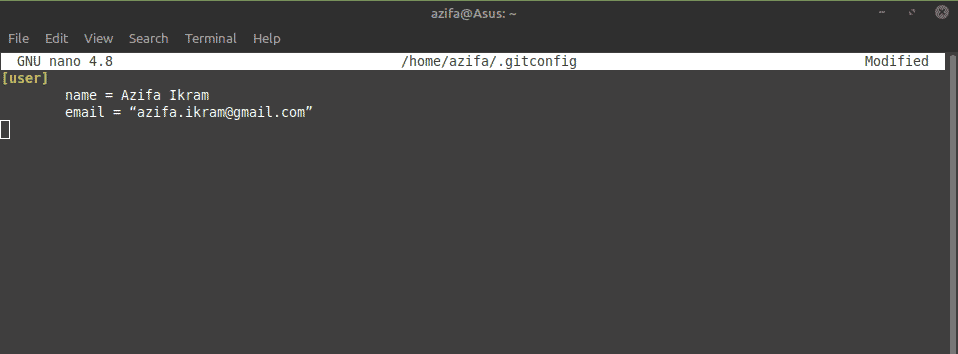
In case you find an error like a spelling mistake or something else, you can correct it by editing the git configuration file.
To do that run the command below. We have used a nano editor to open the file. Once the file is open, correct the mistake and save the file.
sudo nano ~/.gitconfig
![]()